How to Build a Sandbox For Your Kids
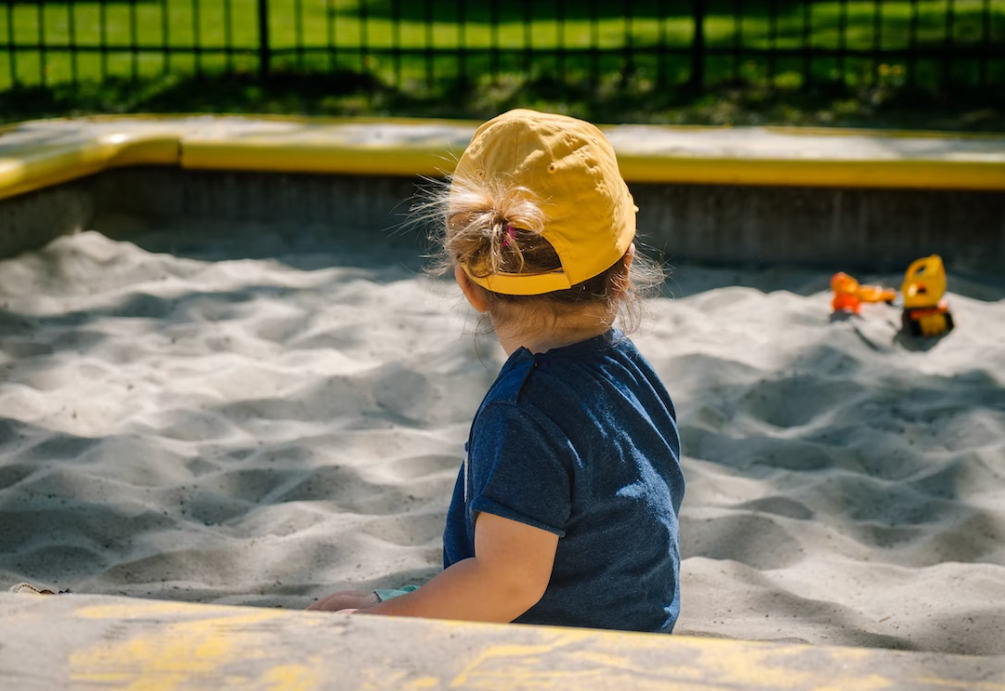
 A sandbox is a great addition to any backyard. Not only do they provide a fun place for children to play, but they also help keep yards tidy by giving kids a designated area to dig and build. Plus, with a little bit of creativity, sandboxes can be transformed into anything from pirate ships to princess castles.
Building a sandbox is a relatively easy and inexpensive DIY project that can be completed in a weekend. All you need is some basic carpentry skills, a few supplies from the hardware store, and a little bit of elbow grease. Follow the steps below to learn how to build a sandbox in your own backyard.
1. Choose the Right Location for Your Sandbox
The first step in building a sandbox is to choose the right location for it. You’ll want to pick a spot in your yard that gets plenty of sun and is away from any trees or shrubs whose roots could damage the sandbox. Once you’ve found the perfect spot, use spray paint or stakes and string to mark out the perimeter of the sandbox.
2. Create a Solid Foundation for Your Sandbox
Next, you’ll need to create a foundation for your sandbox. One option is to use hdpe sheets. These are thick plastic sheets that can be customized to fit your exact sandbox size. This is a quick way to get your foundation in place and read for the sides to be constructed.
3. Construct the Sides of Your Sandbox
With the foundation in place, it’s time to start working on the sides of your sandbox. If you’re using concrete footings, start by attaching 2×4 boards around the perimeter of the footings using masonry screws or nails. Then, fill in any gaps between the boards with sand so that they’re level with each other.
4. Make it Secure
Once you’ve attached all four sides, it’s time to add some reinforcement before filling your sandbox with sand by adding supports every 18 inches or so along each side beam. To do this, cut 2x4s into 18-inch lengths and nail them into place perpendicular to each side beam. Then finish things off by attaching crossbeams running perpendicular to each support beam. This will help prevent your sandbox from sagging over time as kids jump in and out of it.
5. Fill Your Sandbox with Sand
Filling a sandbox with sand may seem like a simple task, but there are a few things to keep in mind to ensure a fun and safe play environment for your children. The first step is to choose the right type of sand. Play sand is specially designed for use in sandboxes and is usually softer and finer than construction sand. This helps to prevent eye and respiratory irritation, as well as keeping the sandbox clean. Once you have the right type of sand, it’s time to start filling! The best way to do this is to use a garden hose with a steady flow of water. This will help to evenly distribute the sand and prevent it from clumping. Once the sandbox is full, be sure to compact the sand by walking on it or using a tamper. This will help to keep it level and prevent sinkholes from forming. With these simple tips, you can easily fill your sandbox with sand and provide hours of fun for your children!
A sandbox is a great addition to any backyard! After following these construction tips, your family is sure to have a wonderful time in their new sandbox!
By Lizzie Weakley
Lizzie Weakley is a freelance writer from Columbus, Ohio. In her free time, she enjoys the outdoors and walks in the park with her husky, Snowball.

Leave a Reply
Want to join the discussion?Feel free to contribute!